I bought an old commercial fridge (McCall Refrigerator Div.;
Kolpak Industries Inc.
Parsons, TN 38363;
Model 4001:
$150) which is inside and outside stainless steel and aluminum. I got it from North Pittsburgh Showcase (5918 Route 8; Bakerstown, PA 15007; 724.443.5402). The smoker is inside 34'' wide and 28'' deep and I have
raised it on some bricks. I have attached a roof since it was not designed for outside use.
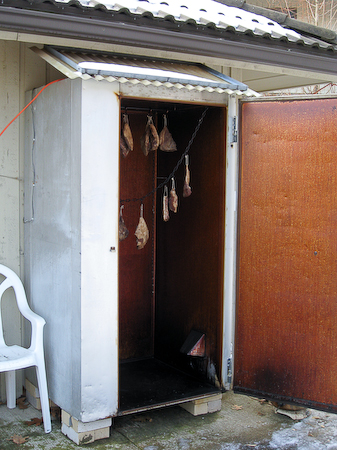
Figure 1: Smoker outside view
The interior features a horizontal aluminum rod which holds large hooks as well as some chains which can be used to attach hooks to them at various heights. These chains can also attach via hooks to various size racks.
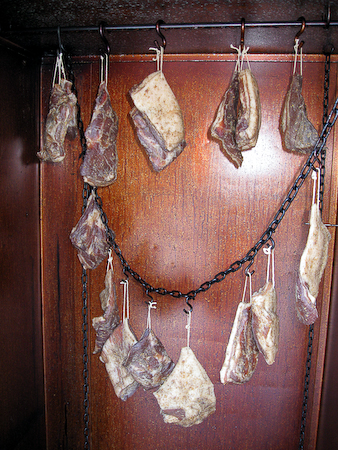
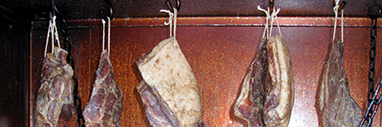
Figure 2: Smoke chamber interior filled with ham

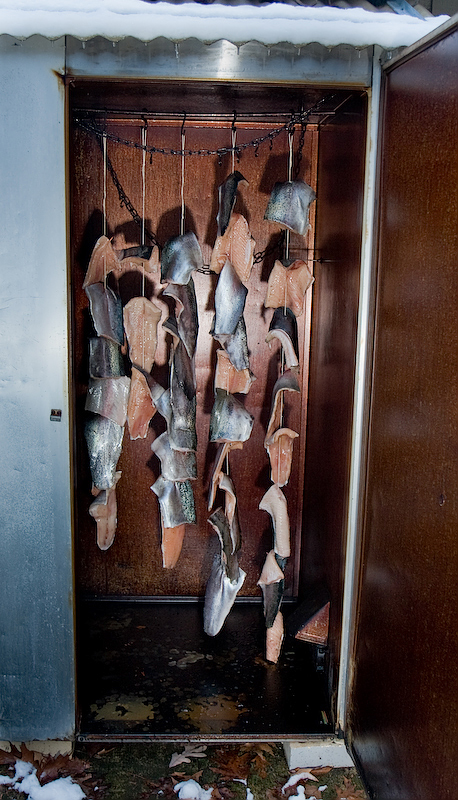
Figure 3: Smoke chamber interior filled steelhead trout fillets (see recipes)
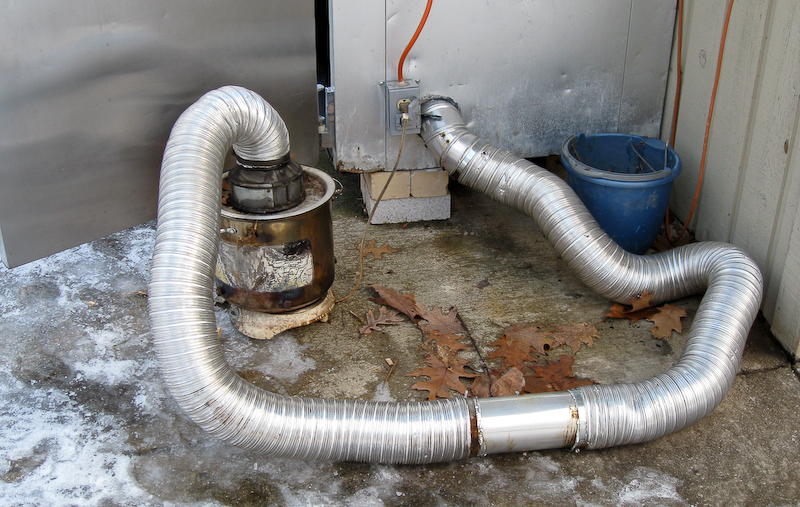
Figure 4 shows the smoke generator which is a hot plate (electric, for $10 from Wal-Mart) with a pot on it. The pot is large enough to hold wood chips/saw dust for 12 hours of smoking. Usually, I let it run 12 hours with smoke and then 12 hours without smoke which requires only one refill per day.
I have drilled a few small holes into the pot walls, near the bottom to allow air to get in. The lid of the pot was converted to attach to a dryer hose. The dryer hose brings the smoke to the smoking chamber allowing it to cool down on its way. Figure 3 also shows the electrical outlet attached to the outside of the smoker where I can plug in the hot plate.

Figure 4: Smoke generator
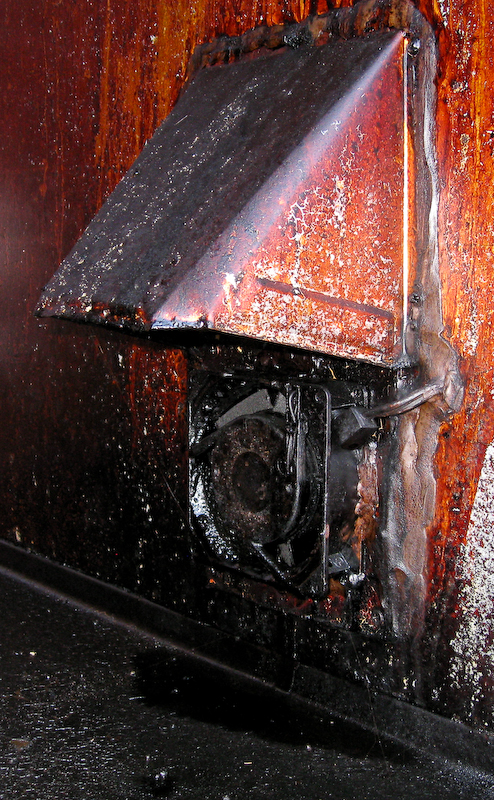
However, the smoke would not travel into the smoke chamber without some help. Thus, I have added a fan to help it along the way (Figure 5). I got a cap from Lowes preventing that anything drips into the electrical parts of the fan.
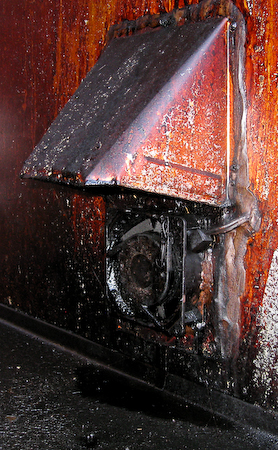
Figure 5: Fan: 8677K47 Equipment Cooling Blower 28 CFM, 5.31" (135 mm), Square, 115 VAC from McMaster: www.mcmaster.com: $55).
But, this fan was too strong and it resulted in a lot of smoke generated too quickly. In order to allow 12 hours of smoking I needed a slower air speed. I have added an adjustable switch (2042K58 120 VAC, 3 Amp Ceiling Fan Speed Control from McMaster: www.mcmaster.com: $20) allowing me to adjust the flow of smoke traversing the chamber.
Obviously, an exhaust vent was needed which I positioned diagonally opposite of the intake at the ceiling of the smoking chamber (Figure 6).
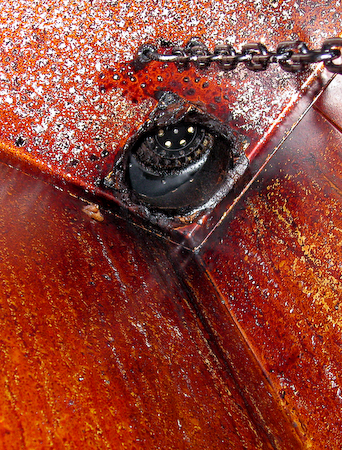
Figure 6: Exhaust vent
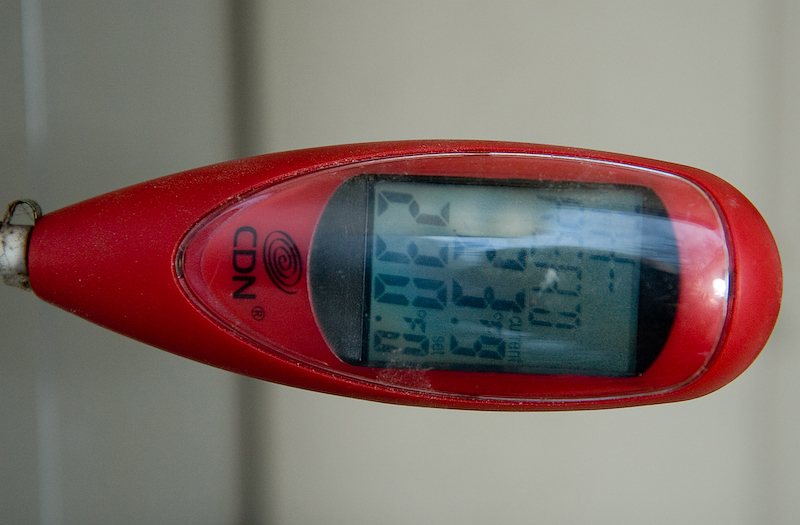
You want to make sure the temperature stas low during the smoking process. Thus, you can only smoke in the winter when the outside temperature helps you. I try to keep the temperature below 40 F in the smoking chamber.
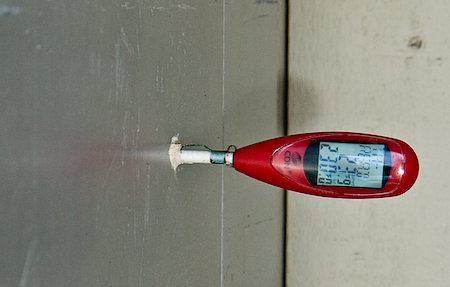
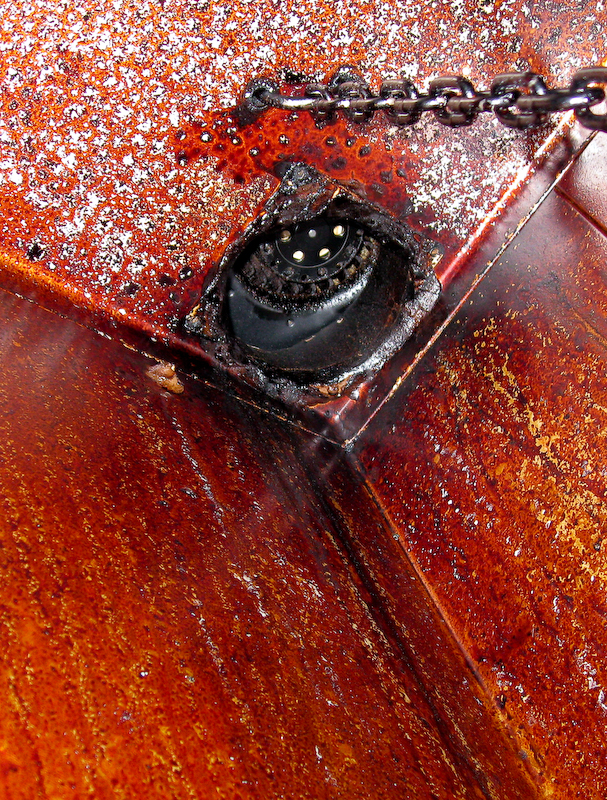
Figure 7: Temperature probe inserted through a wall to determine chamber temperature without having to open the door. I have glued the pocket sleeve into the wall and found that a candy thermometer with long straight probe works best (CDN DTC375 Digital Candy Thermometer).
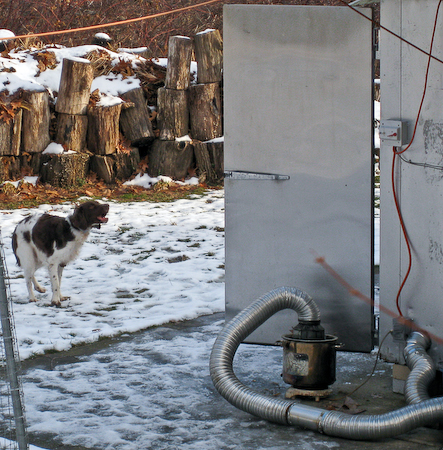
Figure 8: My most determined fan!
|